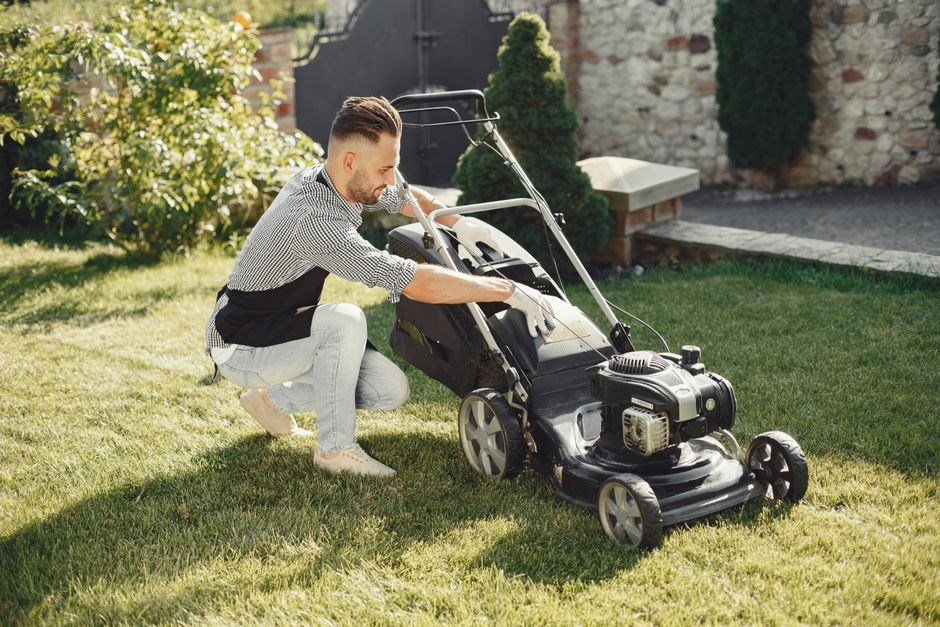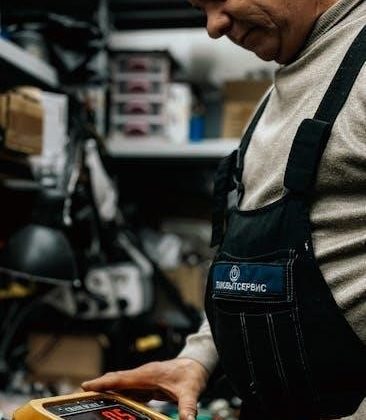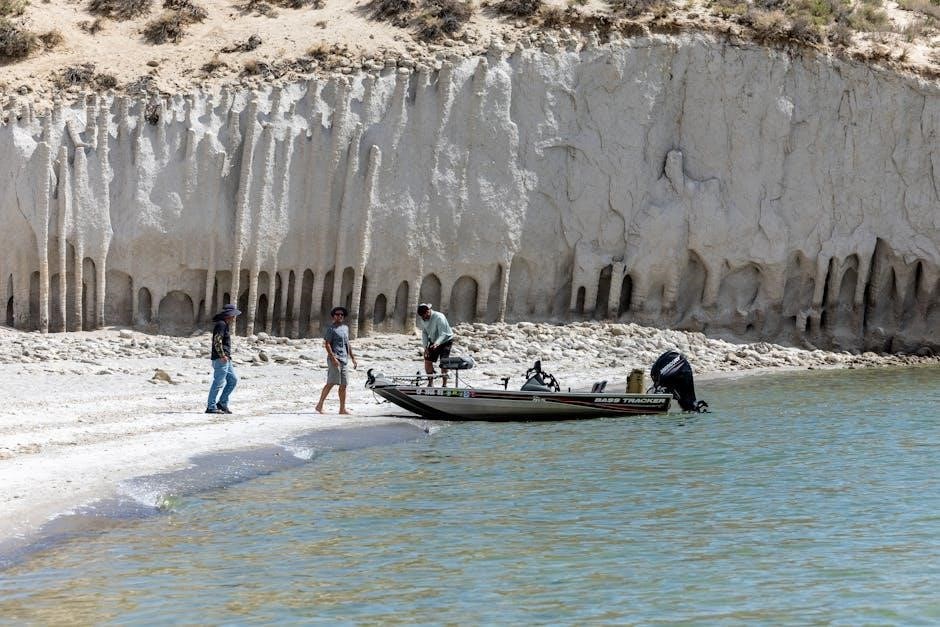
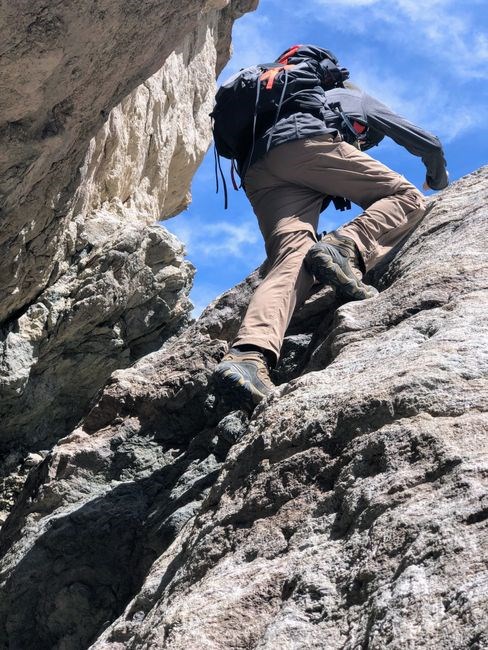
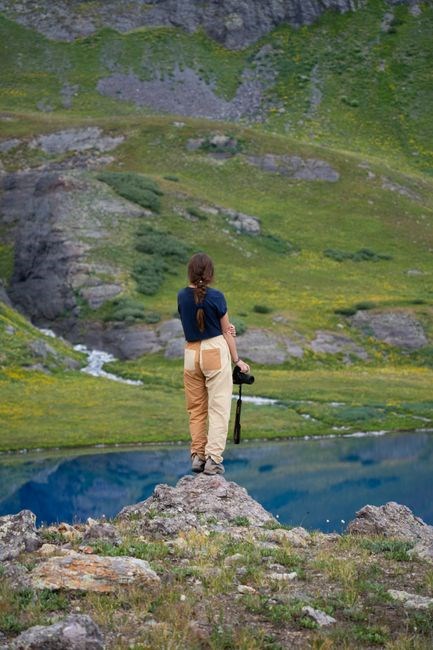
guide pants
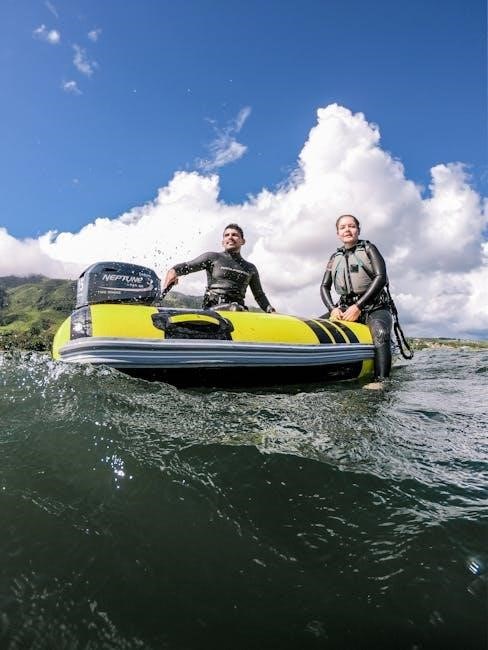
Guide pants blend rugged durability with ergonomic design, offering hikers and outdoor pros a versatile, comfortable option for varied terrains. Their reinforced seams, adjustable waist, and moisture‑wicking fabrics ensure performance while maintaining a lightweight feel.
Ideal for trekking!!!
Definition and Etymology of Pants
Pants, a lower‑body garment that covers each leg separately, trace their roots to the Latin pantia and the Old French pantie, meaning a loose garment that drapes from the waist to the ankles. The term entered Middle English in the 14th century, evolving from the verb “to pant” (to breathe) but shifting in meaning to denote a piece of clothing. Over centuries, the word split into singular “pant” and plural “pants,” reflecting regional usage differences. In modern English, “pants” are generally understood as trousers that fit snugly or loosely, depending on style, and are distinguished from shorts by their full leg coverage. The evolution of the garment itself mirrors societal changes: from the wide, flowing trousers of the 16th‑century Renaissance to the tailored, button‑fastened styles of the 19th century, and finally to the functional, performance‑oriented pants of today. The contemporary “guide pants” inherit this lineage, combining the historic term with modern engineering for outdoor use. The etymology underscores how language adapts to cultural and technological shifts, just as the garment adapts to the demands of modern exploration. By tracing its linguistic roots, we appreciate how the word “pants” evolved alongside fashion, technology, and the practical needs of travelers, making it a fitting descriptor for the modern guide pants that blend heritage with high‑performance design. Moreover, the term’s adaptability reflects the garment’s versatility, allowing designers to innovate while preserving its core function of protecting the legs in diverse environments. This linguistic journey underscores the garment’s enduring relevance.
Historical Evolution of Pants
From the utilitarian breeches of early explorers to the high‑tech fabrics of today, pants have mirrored humanity’s quest for protection and freedom of movement. In the 15th‑century, European hunters wore loose, woolen trousers to withstand harsh climates, while Asian nomads favored silk‑based leggings for their breathability. The Industrial Revolution introduced mass‑produced cotton canvas, enabling soldiers to march in standardized gear. The 20th century saw the rise of nylon and polyester, offering lightweight durability for mountaineers and hikers. Modern guide pants now incorporate rip‑stop weaves, reinforced seams, and moisture‑wicking linings, all engineered to resist abrasion, water, and temperature extremes. This evolution reflects shifting priorities: from simple coverage to engineered performance, ensuring that every step is supported by a garment designed for the rigors of the great outdoors.
These garments, once simple for survival, now incorporate smart textiles that adapt to body temperature and compression layers that enhance circulation during strenuous climbs. The design process prioritizes low‑maintenance fabrics that resist stains and require minimal washing, ideal for extended expeditions where resources are scarce. Moreover, the integration of breathable mesh panels ensures ventilation, while the use of recycled polyester reduces environmental impact, aligning with the growing demand for sustainable gear among conscious adventurers

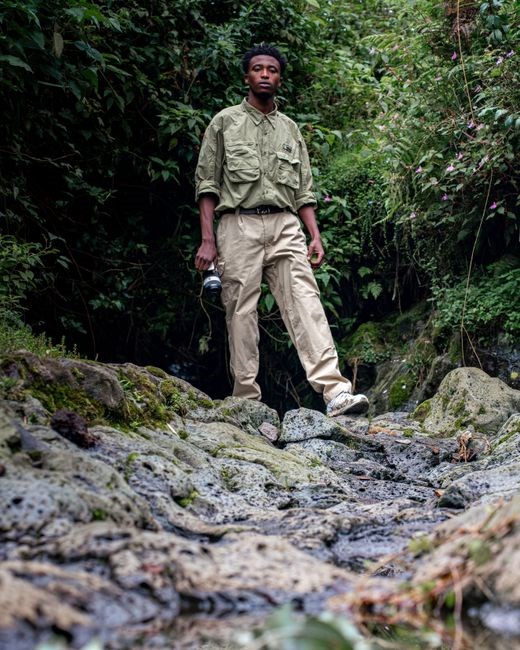
Guide Pants in Context
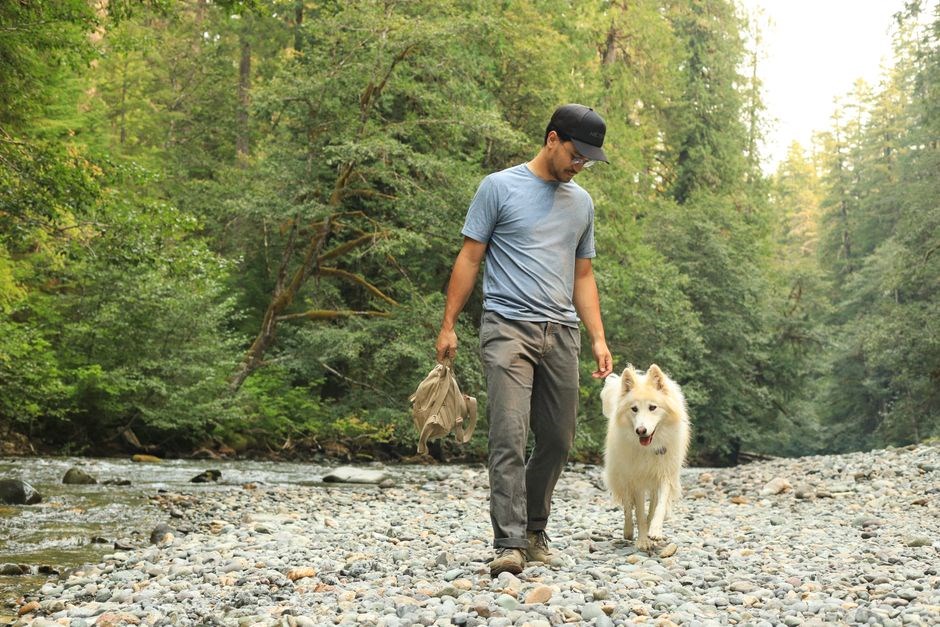
Guide pants serve as the backbone of modern outdoor apparel, blending durability with ergonomic fit. They evolved from early canvas trousers to today’s moisture‑wicking, rip‑stop fabrics, meeting the demands of trekking, climbing, and back‑country survival. Ideal!!
What Are Cargo Pants? (Utility Feature)
Cargo pants, a staple in outdoor gear, combine rugged construction with functional design. Originally developed for military use, they feature multiple large pockets—often on the thighs and calves—allowing users to carry tools, maps, and survival gear without compromising mobility. The pockets are typically lined with durable fabric and reinforced with stitching to prevent tearing under load. Modern iterations use lightweight, breathable materials such as rip‑stop nylon or polyester blends that resist abrasion and shed water, keeping equipment dry during rain or snow. Many cargo styles incorporate adjustable waistbands and gusseted crotches, ensuring a snug fit that reduces chafing during long hikes. The utility of cargo pants extends beyond mere storage; the strategic placement of pockets keeps items within easy reach, reducing the need to pause and retrieve gear. Some designs also include zippered compartments for valuables, while others feature internal loops for trekking poles or headlamps. The versatility of cargo pants makes them suitable for a wide range of activities—from back‑country trekking and mountaineering to urban exploration and everyday commuting. Their blend of durability, comfort, and practicality has cemented cargo pants as a go‑to choice for anyone needing reliable, on‑the‑go storage solutions. Whether trekking through alpine valleys, navigating dense forests, or simply commuting across a city, cargo pants offer a versatile platform that adapts to changing conditions. Their thoughtful design ensures that essential gear remains within arm’s reach, while the breathable fabric keeps the wearer comfortable and dry throughout the day. Experience unmatched freedom today and explore without limits. Stay ready. Always. Go.
Other Functional Pant Styles for Guides
Beyond cargo, several specialized pant designs cater to distinct outdoor demands. Expedition pants, engineered for high‑altitude treks, feature reinforced knees, integrated gaiters, and a moisture‑wicking core that keeps the wearer dry in harsh climates. Climbing pants prioritize flexibility; they use stretch‑blend fabrics that allow a full range of motion while offering abrasion‑resistant panels for gear attachment. Travel pants blend comfort with practicality, incorporating hidden zip pockets for passports and a quick‑dry lining that adapts to varying temperatures. Tactical pants, favored by search‑and‑rescue teams, provide modular attachment points and a high‑visibility color scheme for safety; Lastly, hybrid pants combine the best of each: a lightweight base layer, a durable outer shell, and multiple pockets, making them ideal for multi‑day expeditions where weight and storage must be balanced. Each style reflects a unique balance of durability, flexibility, and storage, ensuring guides can choose the perfect fit for their mission.
When selecting the right pant, consider the terrain’s demands: steep climbs require articulated knees, while river crossings benefit from quickdry, antislip fabrics. Weight is a critical factor; lighter materials reduce fatigue, but thicker weaves offer protection against thorns and abrasions; Additionally, seam placement can affect comfort during long hikes, so look for flat‑lock or reinforced stitching in highstressus areas
Explore gear with confidence today
Materials and Construction
Guide pants rely on high‑performance fabrics like nylon‑spandex blends, polyester‑mesh, and ripstop weaves. Seam‑sealing, flat‑lock stitching, and reinforced knee panels enhance durability. Quick‑dry, breathable membranes keep moisture out while maintaining flexibility for rugged terrain. outdoors!.
Common Fabrics Used in Guide Pants
Guide pants are engineered from a blend of high‑performance fibers that balance strength, breathability, and weight. The most prevalent base material is a nylon‑spandex hybrid, offering a 3‑way stretch that accommodates dynamic movements while resisting abrasion. Polyester‑mesh composites provide superior moisture‑wicking, drawing sweat away from the skin and allowing rapid evaporation, which is essential for extended hikes in hot climates. Ripstop nylon, woven with a cross‑hatch pattern of reinforced threads, resists tearing and punctures, making it ideal for rocky or root‑laden trails. For added protection, many brands integrate a thin, abrasion‑resistant coating such as a polyurethane laminate or a silicone‑based finish that protects against cuts and sun damage without compromising flexibility. Some premium lines incorporate recycled fibers, such as post‑consumer PET, to reduce environmental impact while maintaining performance standards. The choice of fabric also influences thermal regulation; lightweight options keep temperatures down in summer, whereas heavier, insulated variants trap heat for winter expeditions. By combining these materials with meticulous seam construction and reinforced panels, manufacturers deliver guide pants that endure the toughest outdoor conditions while remaining comfortable and functional for the wearer. These fabrics meet extreme weather demands, keeping pants supple, breathable, and durable for years of use ruggedly hard.!
Durability and Weather Resistance
Guide pants are built to withstand the harshest outdoor conditions through a combination of advanced fabrics, reinforced stitching, and protective coatings. The core material—often a ripstop nylon or polyester blend—features a cross‑hatch weave that resists tearing and punctures, while a lightweight, breathable membrane keeps moisture out and sweat in. Many manufacturers layer a thin, waterproof‑breathable laminate such as Gore‑Tex or eVent, which blocks wind and rain yet allows vapor to escape, preventing overheating during vigorous activity. Reinforced knee and seat panels, stitched with double‑layer seams and heat‑sealed edges, add extra protection against abrasion from rocks, branches, and gear. Elastic waistbands with adjustable drawstrings provide a snug fit that resists wind penetration, and reinforced cuffs prevent snagging on tree bark or gear straps. UV‑resistant coatings extend fabric life by blocking harmful rays, and some models include a silicone‑based finish that repels dirt and water, reducing the need for frequent washing. The combination of these features ensures that guide pants maintain structural integrity and functional performance over long periods, even in extreme weather, making them reliable companions for any outdoor adventure.
These pants feature dry tech that keeps you fresh on long treks, while reflective trim ensures visibility in low. Their modular design allows replacement of worn panels, extending lifespan and reducing waste !
Design Features
Ergonomic cuts reduce bulk while maximizing range of motion. Multiple pockets—slanted, zippered, and hidden—offer secure storage. Adjustable waistbands with drawstrings and elastic cuffs keep wind out. Breathable, moisture‑wicking fabrics keep you dry, reflective accents aid night visibility for rugged trails. and windproof. plus.!!
Pocket Configuration and Practicality
Guide pants prioritize functional storage, integrating a mix of pocket types tailored for outdoor tasks. Front pockets are typically deep, zippered, and reinforced, allowing secure placement of compasses, maps, or multitools. A small, hidden pocket near the thigh keeps valuables protected from rain and theft.
Back pockets often feature a larger, open design, ideal for quick access to a phone or a spare pair of gloves. Some models add a zippered, top‑center pocket for high‑value items, while others incorporate a discreet, elasticized pocket for small batteries or first‑aid supplies.
Side pockets, usually slanted, provide easy reach for trekking poles or a water bottle, and are lined with a moisture‑resistant fabric to prevent leaks. Many guide pants also include an internal, detachable pouch system, allowing the user to attach a small, lightweight bag for extended hikes.
Overall, the pocket layout balances accessibility, security, and weight distribution, ensuring that essential gear stays within arm’s reach without compromising freedom of movement or adding unnecessary bulk.
The strategic placement of pockets not only enhances functionality but also contributes to the overall silhouette, ensuring that the garment remains streamlined during vigorous activity. By integrating reinforced stitching and ergonomic seams, manufacturers provide a durable flexible solution that adapts to the movements of hikers climbers trailrunners alike.
Fit and Comfort Considerations
Guide pants accommodate a range of body types while maintaining a low profile during activity. The waistband is elastic‑backed with an adjustable drawstring or hook‑and‑loop closure, allowing a snug fit that prevents chafing and keeps the garment in place on uneven terrain. A gusseted crotch expands the leg opening and reduces restriction around the hips and thighs, enhancing mobility during squatting, climbing, or kneeling. for rugged terrain.
Material choice plays a role in comfort. Breathable fabrics such as rip‑stop nylon or polyester blends are favored for their moisture‑wicking properties, which keep the skin dry and reduce the risk of heat rash. When combined with a lining—microfiber or a moisture‑absorbing mesh—the pants feel against the skin wear. Flat‑lock stitching minimizes bulk and eliminates irritation points and dry.
Fit customization focuses on leg length. Styles offer inseam options or a tapered cut that narrows at the ankle, preventing excess fabric from dragging in mud or snow. Brands provide a break or no‑break option for a silhouette. The design balances durability with a lightweight feel, letting hikers, climbers, and trail runners move freely without compromising protection secure.
For added versatility, many guide pants feature a lightweight, breathable mesh panel at the back of the knee, allowing airflow during intense exertion. The ergonomic cut, breathable fabric, and thoughtful detailing keep the garment comfortable across temperatures and activity levels. They also include reinforced knees and a breathable, moisture‑wicking lining for added durability. Stay and stay and stay!!!
Choosing the Right Guide Pants
Pick pants that match terrain, weight, and season. Light fabrics suit summer hikes; heavier, insulated cuts are best for cold. Check for reinforced knees, adjustable waist, and breathable lining. Test fit in motion, and ensure pockets hold gear securely.!!!

Activity‑Specific Recommendations
When selecting guide pants for specific activities, consider terrain, climate, and gear load. For high‑altitude treks, lightweight, breathable fabrics with UV protection and a slim fit reduce bulk while maintaining airflow. Incorporate a gusseted crotch for unrestricted movement and a reinforced seat for durability. For alpine climbing, choose pants with integrated gaiters or a zip‑off front to accommodate crampon use, and ensure a snug waist to prevent wind penetration. In desert or hot‑climate expeditions, opt for moisture‑wicking, quick‑dry materials with a loose cut to promote ventilation. Add a reflective strip for low‑light visibility. For river or kayaking trips, waterproof or water‑repellent coatings are essential; a sealed seam construction prevents leaks, and a quick‑dry lining keeps you comfortable after splashes. When tackling dense forest or backcountry hunting, prioritize camouflage patterns and a high‑durability weave that resists abrasion. Include multiple, well‑placed pockets—ideally with internal dividers—to store maps, compasses, or small tools. For urban or mixed‑terrain use, a hybrid style with both rugged panels and a streamlined silhouette offers versatility; Evaluate the closure system: a drawstring waist offers flexibility, while a button or zipper closure provides a tighter fit. Remember to check the manufacturer’s care instructions; proper washing and drying will prolong the life of the fabric and maintain its performance characteristics. For activities that involve frequent bending or kneeling, reinforced knee panels provide extra protection against wear. When snow or ice is expected, select pants with a thermal lining or the option to attach a fleece layer. For high‑altitude or cold‑weather expeditions, a thermal lining or fleece attachment enhances warmth!!
Maintenance and Care Guidelines
Proper care extends the life of guide pants; First, read the manufacturer’s label for washing instructions. Most modern guide pants use polyester or nylon blends that tolerate machine wash on a gentle cycle with cold water. Avoid bleach or fabric softeners, which degrade abrasion‑resistant coatings. After washing, rinse thoroughly to remove detergent residue that can attract dirt. Dry on a low heat setting or air‑dry to prevent shrinkage. If the pants have a waterproof or water‑repellent finish, re‑apply the treatment after washing using a spray or wash‑in product specifically designed for technical fabrics. Follow the product’s instructions: apply evenly, let it dry completely, and test a small area first. For pants with seams that are sealed, avoid high heat drying; instead, tumble dry on low or lay flat. When storing, hang the pants on a padded hanger or fold them loosely to avoid creases that can weaken seams. For long‑term storage, keep them in a breathable garment bag to protect against dust and pests. Before each use, inspect for tears or loose threads, especially in high‑stress areas like the knees and seat. If a tear is found, stitch it immediately with a heavy‑weight needle and matching thread. For gear that requires frequent use in wet conditions, consider a quick‑dry liner or a moisture‑wicking undershirt to keep the pants dry and comfortable. Finally, keep a repair kit in your pack: a needle, thread, patches, and a spare!! By following these steps, you’ll maintain the durability, waterproofing, and comfort of your guide pants for many adventures ahead!!